Deploying your React app doesn’t have to be complicated. By using Docker, you can streamline the deployment process and ensure consistency across environments. In this guide, we will show you how to Dockerise your React app using the Recipe Radar project, walking you through every step needed to create a containerized version of your app that can run seamlessly.
Table of Contents
Before we dive into Dockerizing your React app, let’s briefly understand what Docker is and why it’s valuable. Docker is a platform designed to help developers package their applications and dependencies into a container. These containers can be easily deployed to any environment, ensuring your app behaves consistently no matter where it runs.
React, a powerful JavaScript library for building user interfaces, is one of the most popular choices for frontend development. By Dockerizing a React app, you can run it in isolated environments, allowing you to ship and deploy with confidence.
Here’s why Dockerizing your React app is a game-changer:
- Consistency: Docker containers run the same way on every system.
- Portability: Move your app from development to production without issues.
- Scalability: You can easily scale your app using Docker Compose and Kubernetes.
- Speed: It simplifies deployment and reduces the time required for setup.
- CI/CD Integration: Docker seamlessly integrates with CI/CD pipelines, allowing for automated testing and deployment.
These benefits make Docker the ideal choice for handling production-ready applications, especially for developers working with modern frontend frameworks like React.
In this guide, we will Dockerize our Recipe Radar app, a fully functional application already deployed on GitHub Pages. You can explore the live version of Recipe Radar hosted on GitHub Pages here. We have also covered how to deploy a React app on GitHub Pages in one of our blogs.
What is Recipe Radar?
Recipe Radar is a dynamic and responsive web and mobile application designed to help users explore and search for food recipes effortlessly. The app enables authenticated users to browse a wide variety of recipes, view detailed information, and enjoy a seamless experience across devices.
Key Features:
- Advanced Recipe Search: Search recipes based on ingredients, cuisine type, or dietary restrictions.
- Detailed Recipe Information: View essential details like ingredients, nutritional facts, and step-by-step cooking instructions.
- Responsive Design: Optimized for both mobile and desktop devices.
You can check out the source code on our GitHub repository and experience the live application here deployed on github.
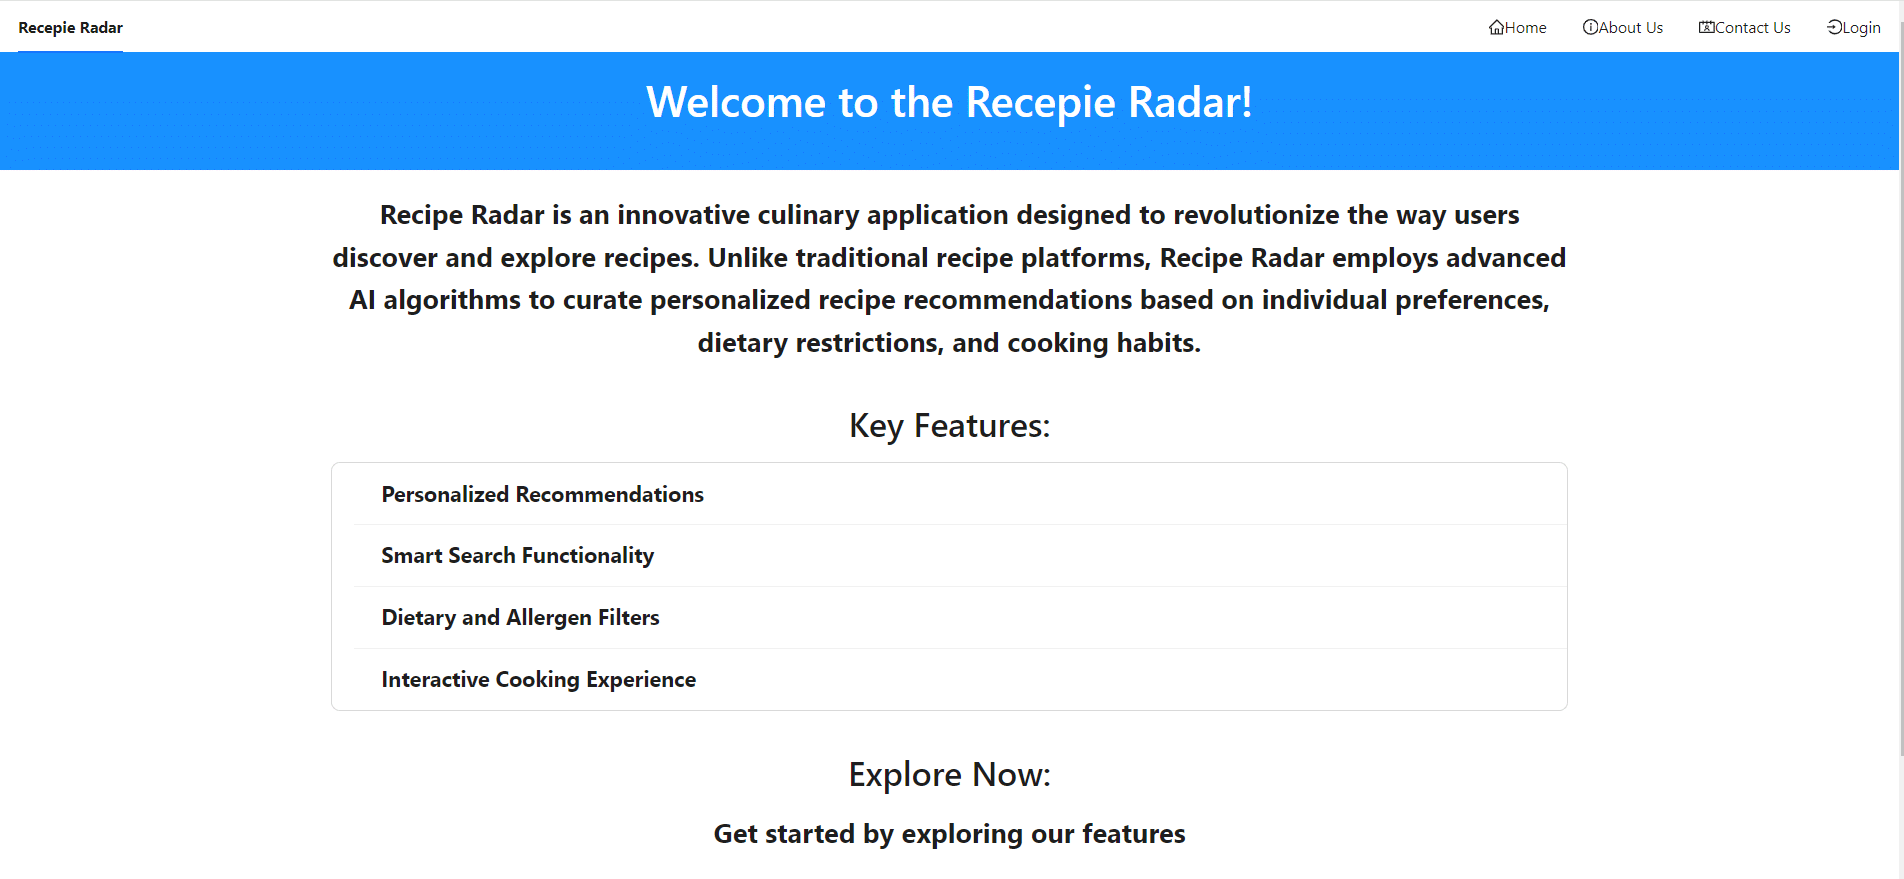
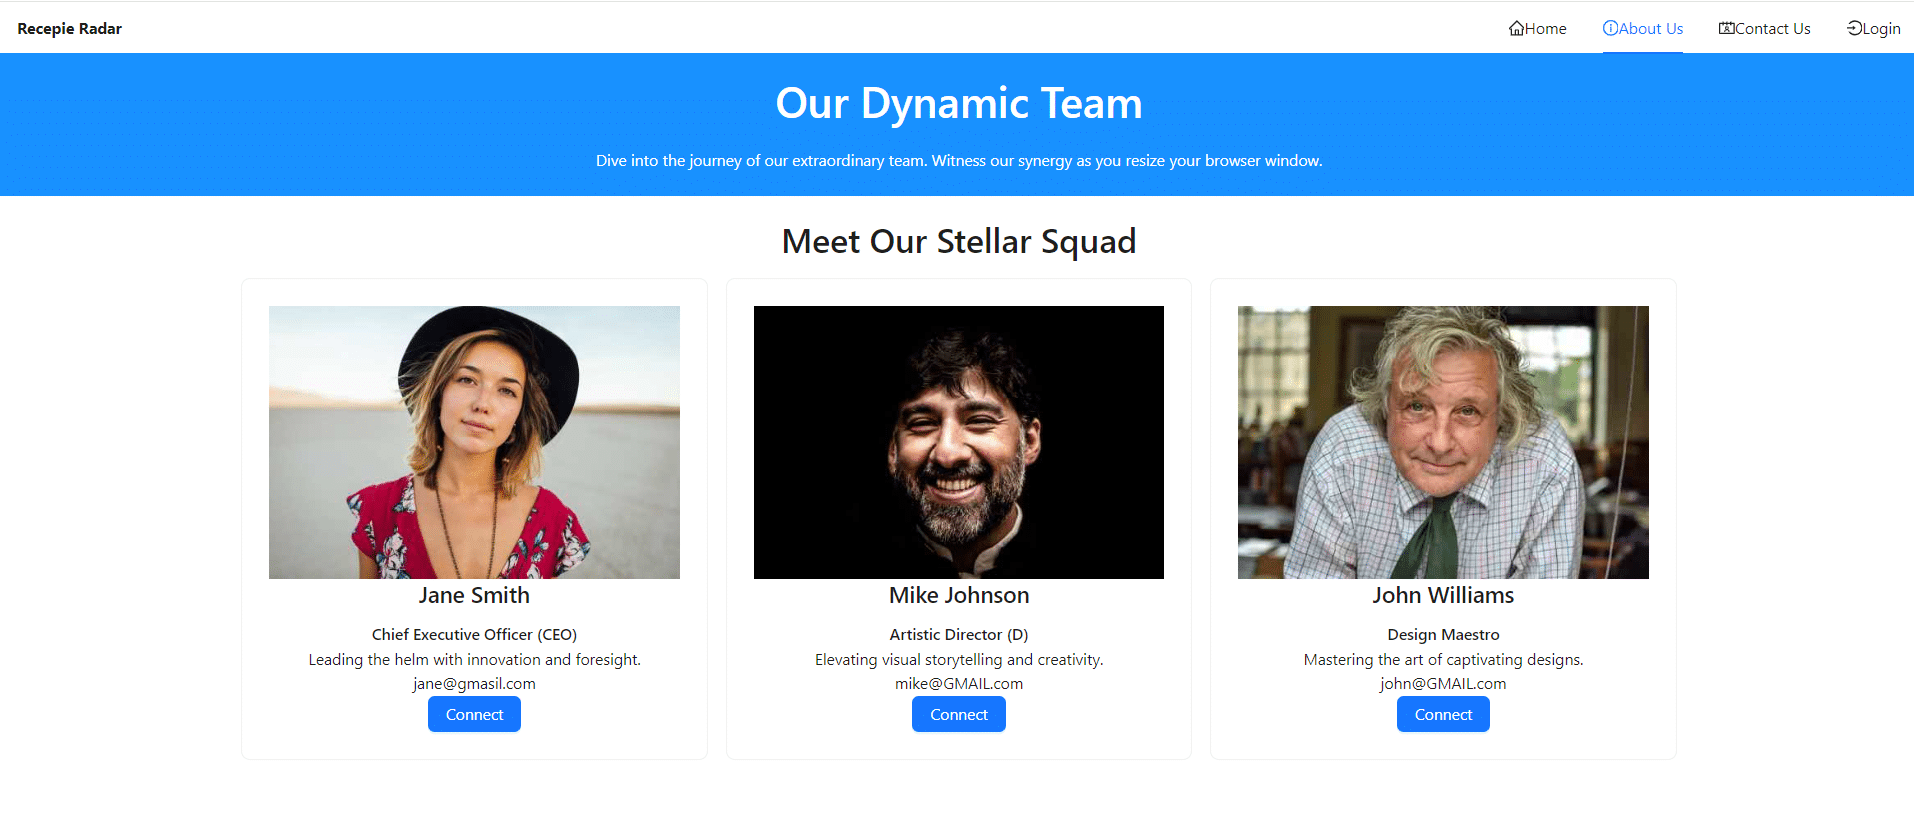
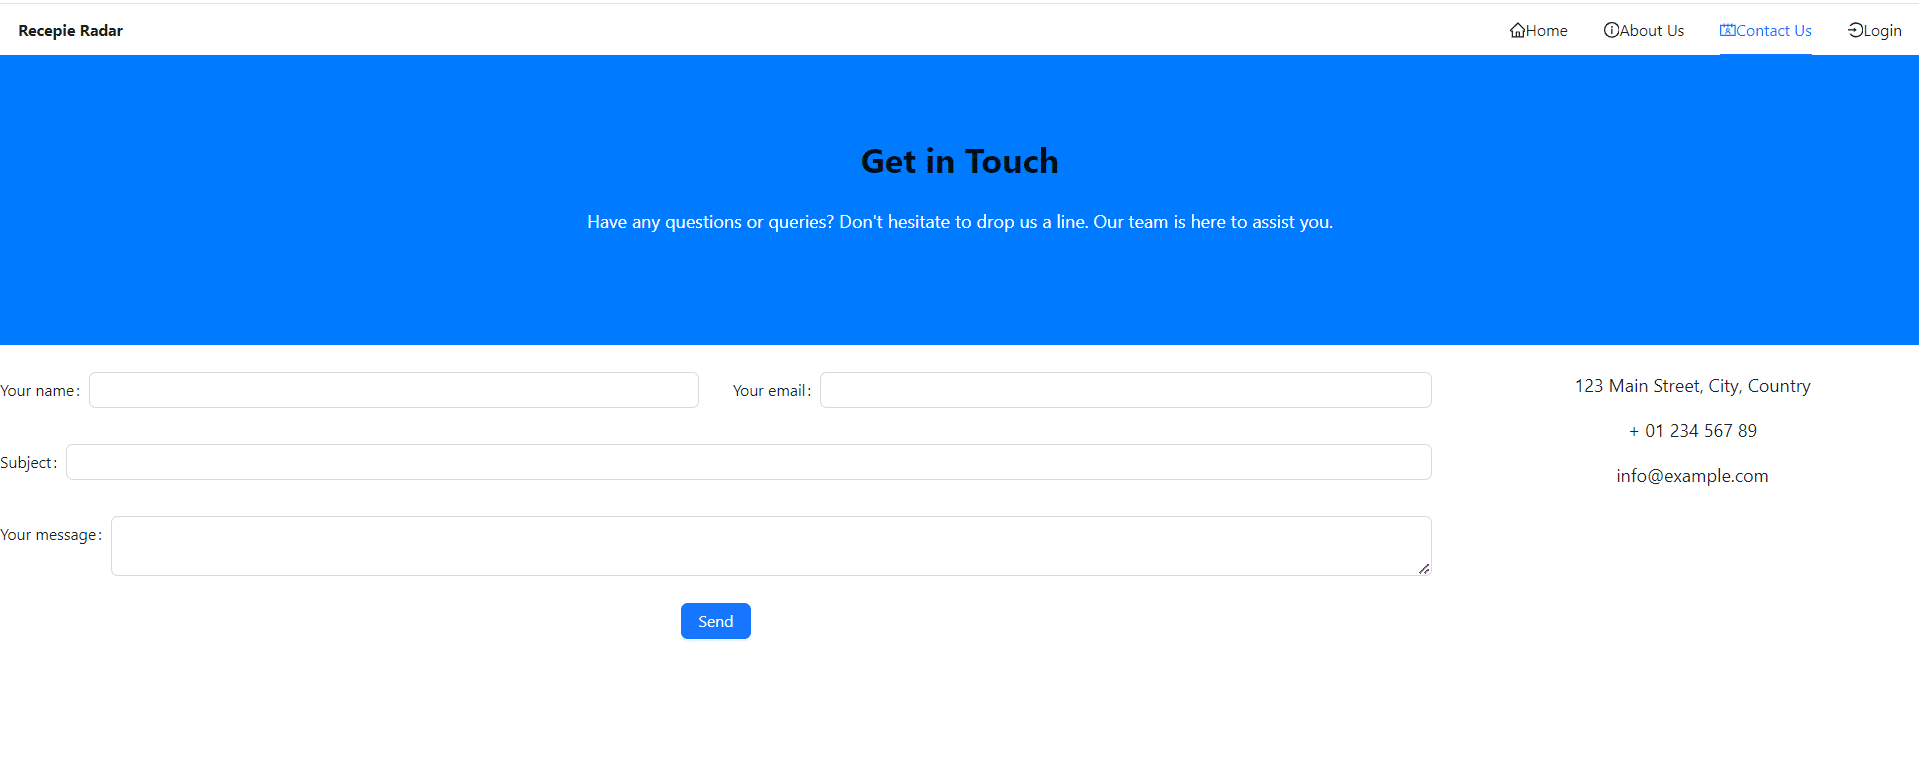
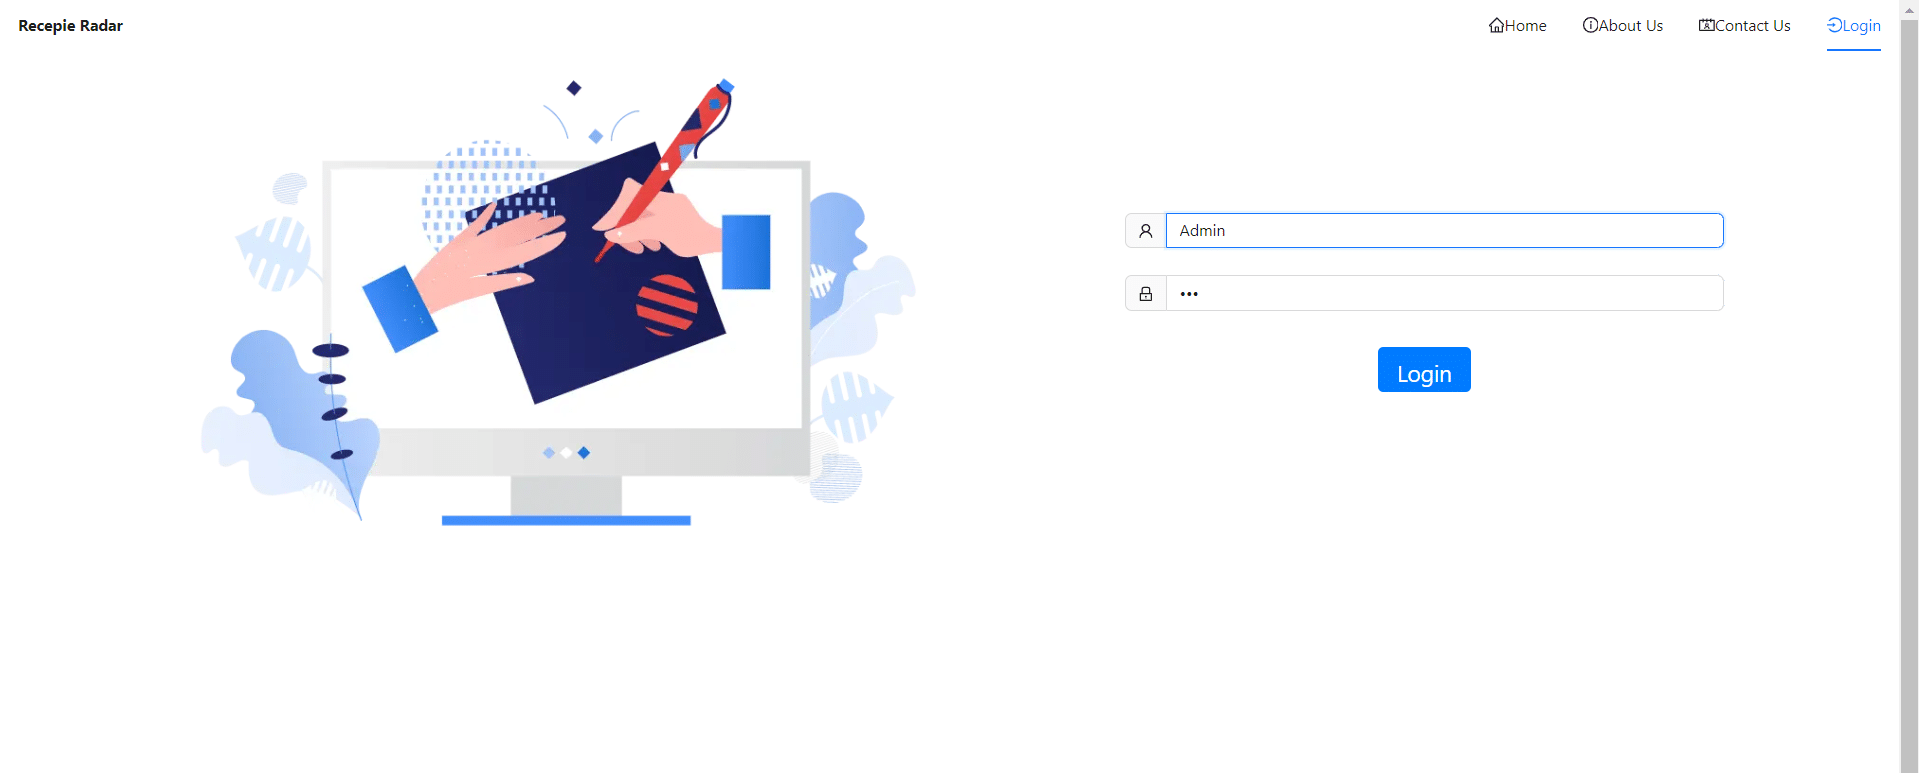

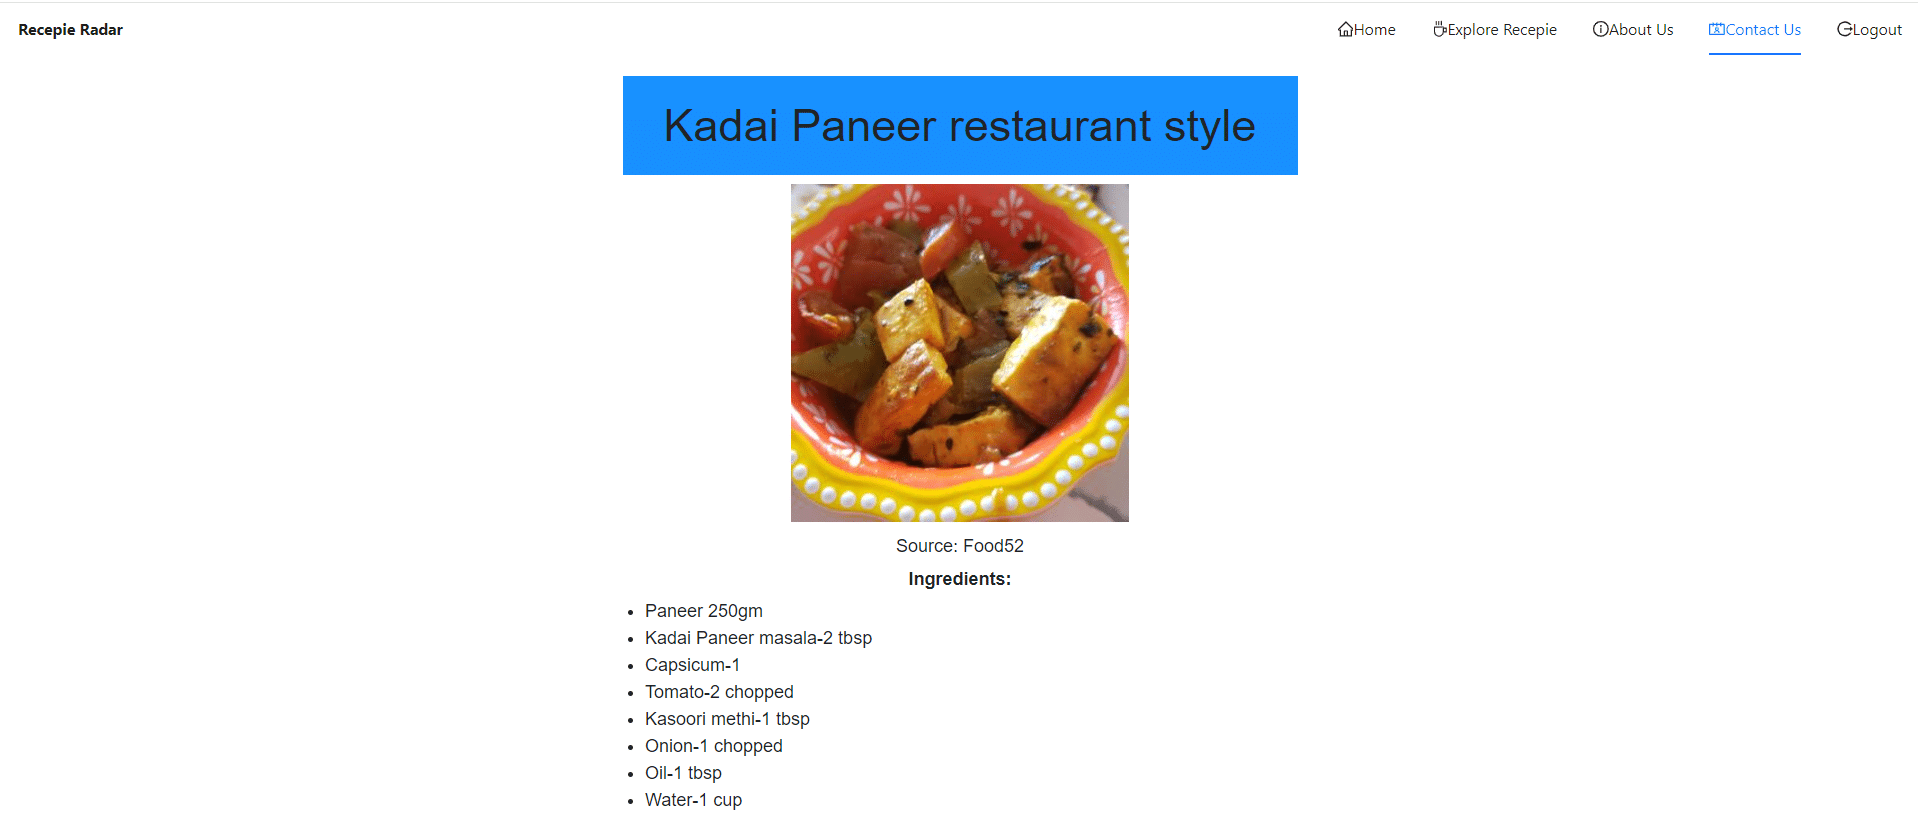
Let’s Dockerize the Recipe Radar React app in 5 simple steps.
Recipe Radar/
├── public/
│ ├── index.html
│ └── favicon.ico
├── src/
│ ├── App.js
│ ├── index.js
│ └── components/
│ ├── RecipeList.js
│ └── RecipeDetail.js
├── package.json
├── package-lock.json
└── README.md
- public/: This folder contains the static files that are served directly. The
index.htmlfile is the main HTML file for the React app, andfavicon.icois the icon displayed in the browser tab. - src/: This is where the main React code resides. The
App.jsfile serves as the root component of the application, whileindex.jsis the entry point that renders the app into the DOM. Thecomponents/directory contains reusable React components likeRecipeList.jsandRecipeDetail.js. - package.json: This file holds metadata about the project, including its dependencies and scripts for building and running the application.
- package-lock.json: This file locks the versions of dependencies to ensure consistency across environments.
- README.md: A markdown file providing an overview of the project, setup instructions, and other relevant information.
Next, we will create a Dockerfile in the root directory of the Recipe Radar project.
# Step 1: Start with a base image
# We're using a lightweight Node.js image (version 16) based on Alpine Linux for efficiency.
FROM node:16-alpine AS build

# Step 2: Set the working directory
# This creates a directory called /app inside the container and sets it as the working directory.
WORKDIR /app

# Step 3: Copy package.json and package-lock.json files
# This step copies the package.json and package-lock.json into the container to install the necessary dependencies.
COPY package*.json ./

# Step 4: Install dependencies
# Run npm install to install all the required dependencies for the application.
RUN npm install

# Step 5: Copy the rest of the application code
# After installing the dependencies, copy the rest of the application code from the host machine into the container.
COPY . .

# Step 6: Build the React app for production
# Run the build command to create optimized static files in the 'build' directory.
RUN npm run build

# Step 7: Switch to a new lightweight Nginx image
# We'll use Nginx to serve the static files generated by the build process.
FROM nginx:alpine

# Step 8: Copy the built files from the previous stage (build) to the Nginx html directory
# This copies the production-ready static files from the build directory to the Nginx container.
COPY --from=build /app/build /usr/share/nginx/html

# Step 9: Expose port 80 for the application
# Nginx runs on port 80 by default, so we'll expose this port to access the app.
EXPOSE 80

# Step 10: Command to run Nginx
# The CMD command tells Docker to run Nginx with the necessary configurations.
CMD ["nginx", "-g", "daemon off;"]
Explanation of Each Command:
FROM node:16-alpine AS build- This line specifies the base image for the Docker container. It uses a lightweight Node.js image (version 16) based on Alpine Linux, which is optimized for performance and size. The
AS buildportion names this build stage “build,” which can be referenced later in multi-stage builds.
- This line specifies the base image for the Docker container. It uses a lightweight Node.js image (version 16) based on Alpine Linux, which is optimized for performance and size. The
WORKDIR /app- This command sets the working directory inside the container to
/app. If this directory does not exist, Docker will create it. All subsequent commands will be executed in this directory, making it easier to manage the application files.
- This command sets the working directory inside the container to
COPY package*.json ./- The
COPYinstruction copies thepackage.jsonandpackage-lock.jsonfiles from the host machine into the container’s current working directory (/app). These files are necessary for installing the application’s dependencies.
- The
RUN npm install- This command runs
npm installinside the container to install all the dependencies specified in thepackage.jsonfile. This step ensures that the application has all required packages to run.
- This command runs
COPY . .- This line copies all the remaining application files from the host machine into the container. It effectively moves the entire codebase into the
/appdirectory of the container.
- This line copies all the remaining application files from the host machine into the container. It effectively moves the entire codebase into the
RUN npm run build- This command executes the
npm run buildscript, which compiles the React application into static files optimized for production. The output is stored in abuilddirectory, which is generated inside the/appdirectory.
- This command executes the
FROM nginx:alpine- This line starts a new build stage using the lightweight Nginx image. It sets up a new environment for serving the static files generated in the previous stage.
COPY --from=build /app/build /usr/share/nginx/html- This
COPYinstruction takes the static files from thebuilddirectory in the previous stage (build) and copies them to the Nginx container’s default HTML directory (/usr/share/nginx/html). This makes the static files available for serving through Nginx.
- This
EXPOSE 80- The
EXPOSEinstruction tells Docker that the container will listen on port 80 at runtime. This is the default port for HTTP traffic served by Nginx, allowing external access to the application.
- The
CMD ["nginx", "-g", "daemon off;"]- The
CMDcommand specifies the command that will run when the container starts. Here, it runs Nginx with the configuration to keep it running in the foreground (daemon off;). This is necessary for Docker to keep the container alive and manage the Nginx process properly.
- The
.dockerignore file in the root directory. Here’s the content of the .dockerignore file:
# Ignore node_modules directory
node_modules

# Ignore npm debug log
npm-debug.log

# Ignore build directory (generated during build process)
build

# Ignore Docker configuration files
Dockerfile
.dockerignore

# Ignore Git-related files
.git

# Ignore Markdown documentation files
*.md
To build your Docker image for the Recipe Radar application, you will use the following command in your terminal:
docker build -t recepiradar:v1.1 .Command Breakdown:
docker build: Initiates the image creation process using the specified Dockerfile.-t recepiradar:v1.1: Tags the image with the namerecepiradarand versionv1.1, allowing you to manage and identify different versions easily..: Specifies the current directory as the build context, where Docker will look for the Dockerfile and other necessary files.
This command will create a Docker image for the Recipe Radar application, ready for deployment.
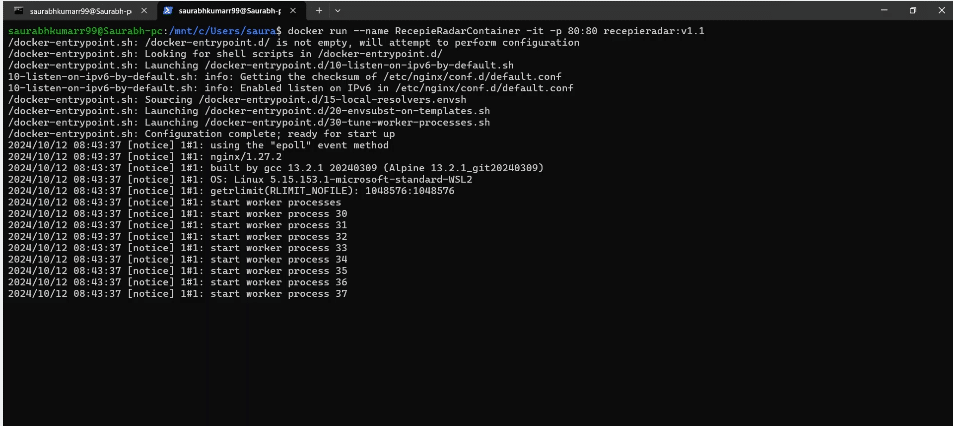
To run your Docker container for the Recipe Radar application, use the following command in your terminal:
docker run --name RecepieRadarContainer -it -p 80:80 recepiradar:v1.1Command Breakdown:
docker run: This command creates and starts a new container from the specified image.--name RecepieRadarContainer: Assigns a name (RecepieRadarContainer) to the container, making it easier to reference later.-it: Combines two flags:-i: Runs the container in interactive mode, keeping STDIN open even if not attached.-t: Allocates a pseudo-TTY, allowing you to interact with the container.
-p 80:80: Maps port 80 of your host machine to port 80 of the container, enabling access to the app via your local browser.recepiradar:v1.1: Specifies the image to run, in this case, therecepiradarimage with the version tagv1.1.
After running this command, open your web browser and navigate to http://localhost:80 to see your Recipe Radar application in action!
In this guide, we explored the process of dockerize your React app, demonstrating how to create a streamlined deployment workflow that enhances consistency, portability, scalability, and speed. By following the steps outlined, you can effortlessly set up a production-ready environment for your React apps, making it easier to manage and deploy them across different platforms.
For more insights on containerization, check out these related resources:
- How to Dockerize a Spring Boot Application
- Deploying a React App on GitHub Pages
- The Complete Guide to Docker for Developers
- Dockerizing a Node.js Web Application
By leveraging Docker, you not only simplify your development workflow but also ensure that your applications are ready for modern cloud environments. Happy Dockerizing!
