Deploy a React App on GitHub Pages is a simple and effective way to make your project available online for free.. Whether you’re a beginner or looking to showcase your work, this guide will walk you through the process in just six easy steps.
Introduction
Deploying your React app to GitHub Pages allows you to share your project with the world without incurring any hosting costs. GitHub Pages provides free hosting for your static sites, making it a perfect solution for showcasing your React applications. In this guide, we’ll cover the essential steps to get your app live and accessible with minimal hassle.
Create a React App
- Install Node.js and npm:
Make sure you have Node.js and npm (Node Package Manager) installed. If not, download and install them from Node.js official website. - Install Create React App
Open your terminal or command prompt and install Create React App globally using npm:npm install -g create-react-app - Create a New React Project
Run the following command to create a new React app. Replace my-app with your desired project name:
This command will create a new directory called my-app with all the necessary files and dependencies.npx create-react-app my-app - Navigate to Your Project Directory
Change into your project directory:cd my-app - Start the Development Server
Run the following command to start the development server and open your app in the browser:npm start
Your default browser should open with the URL http://localhost:3000, displaying your new React app.
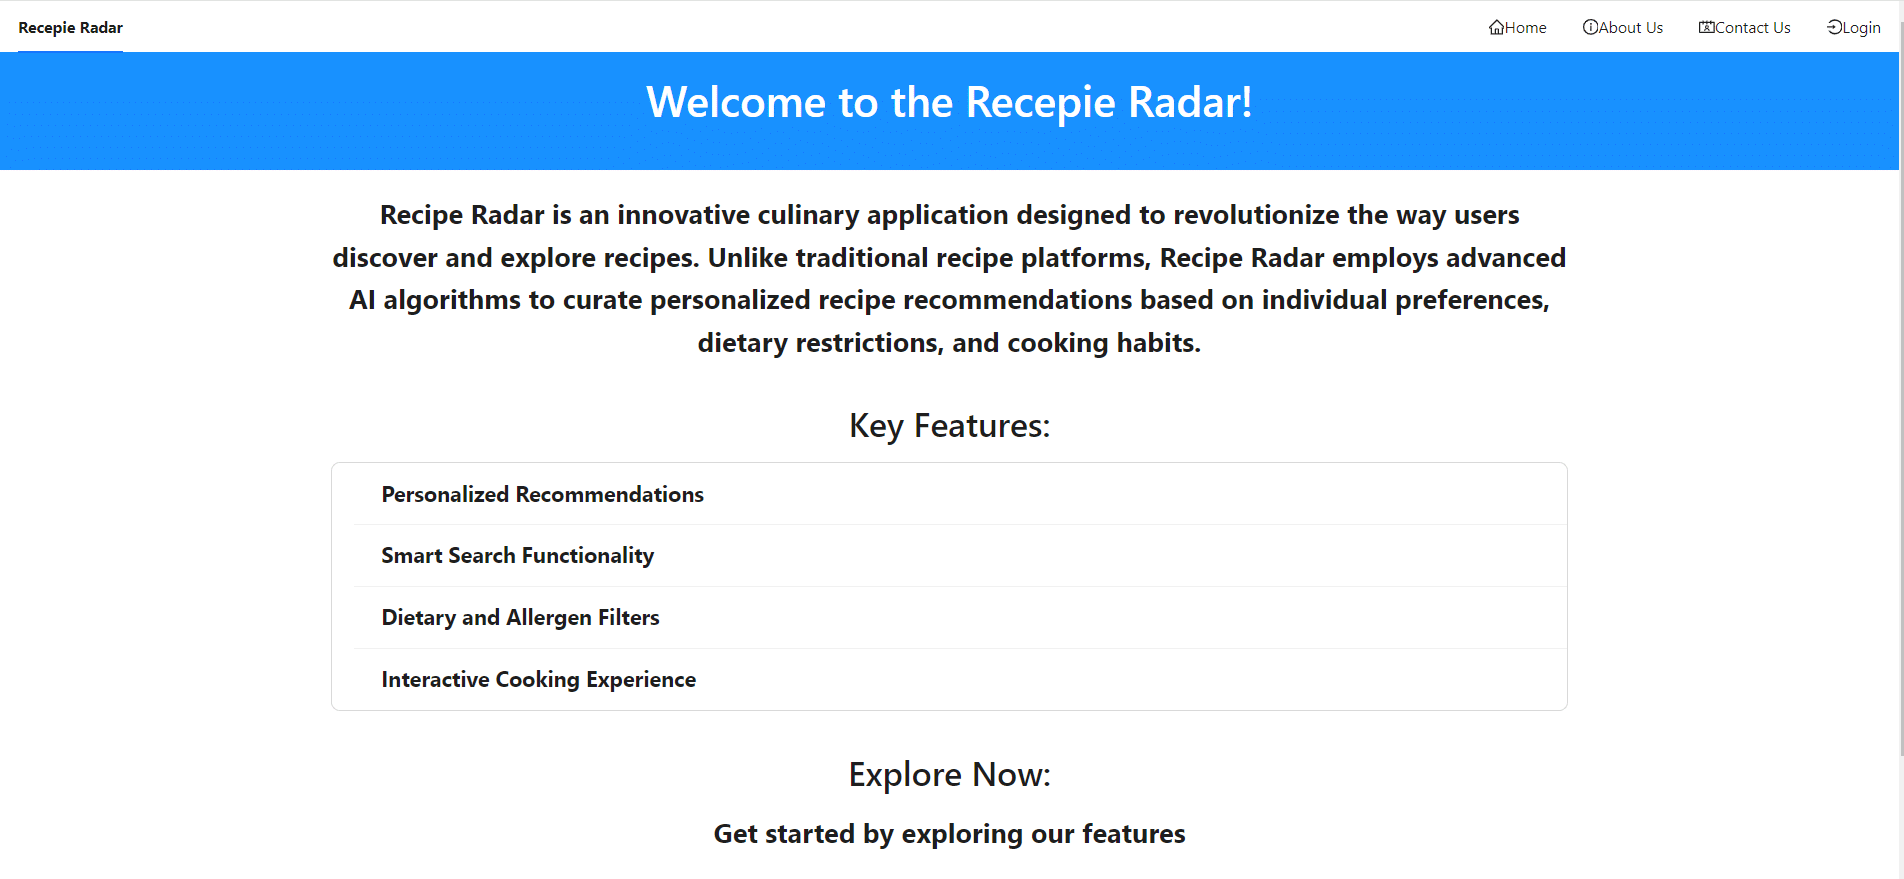
Explore Recipe Radar: Your Ultimate Recipe Finder
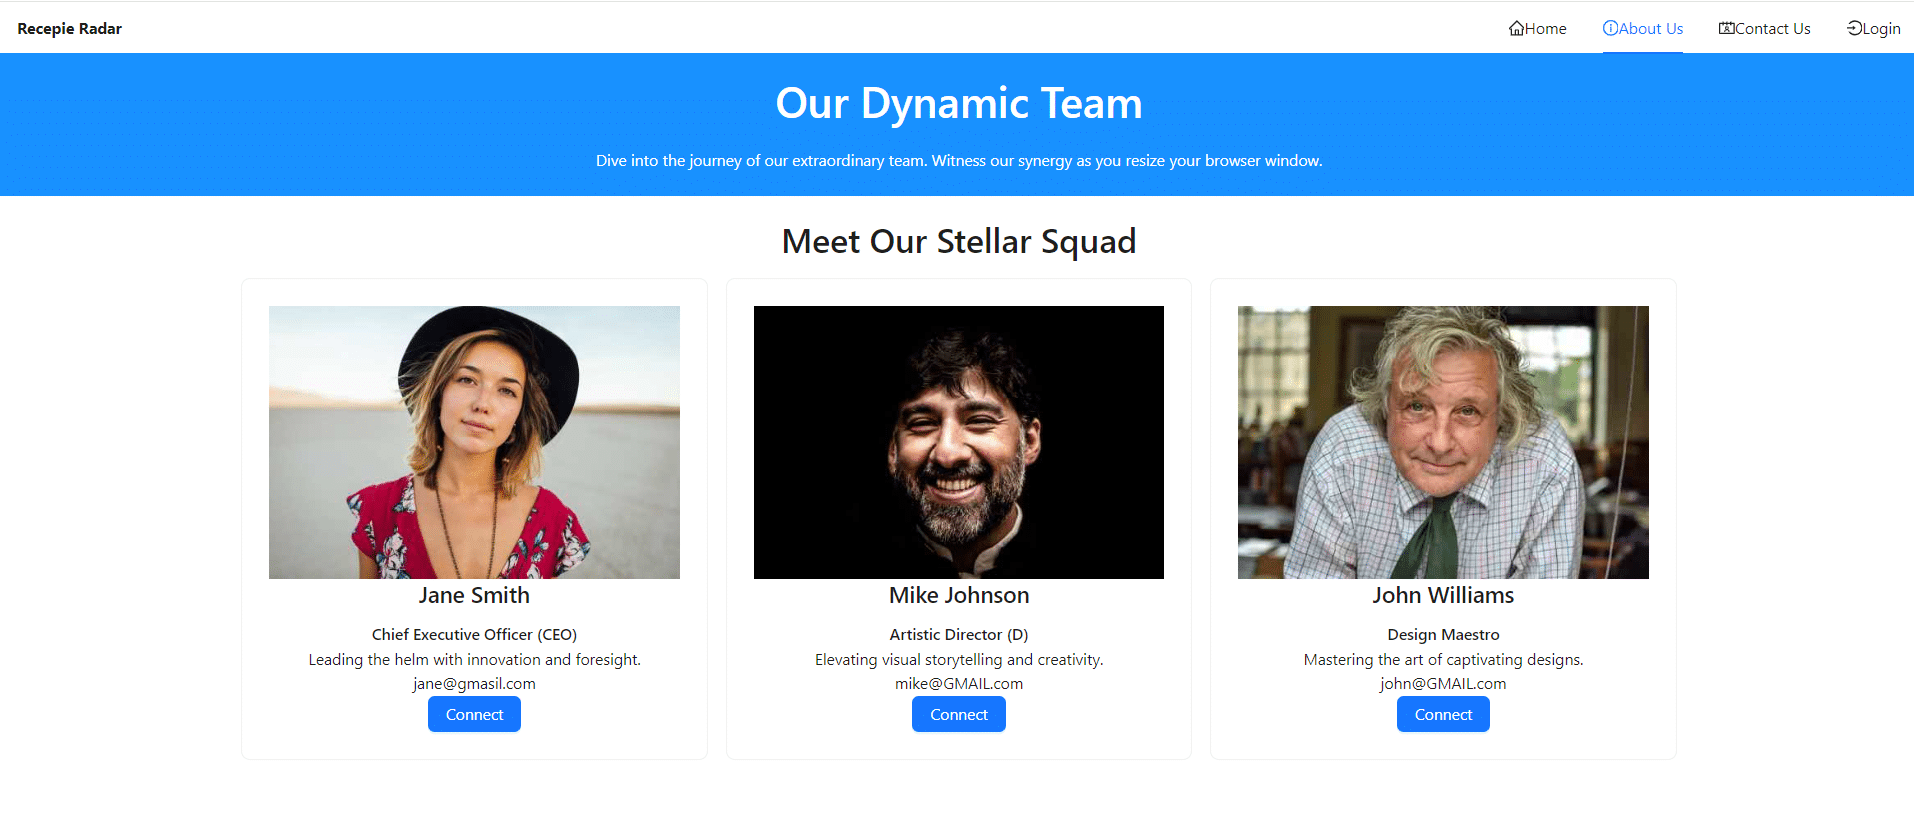
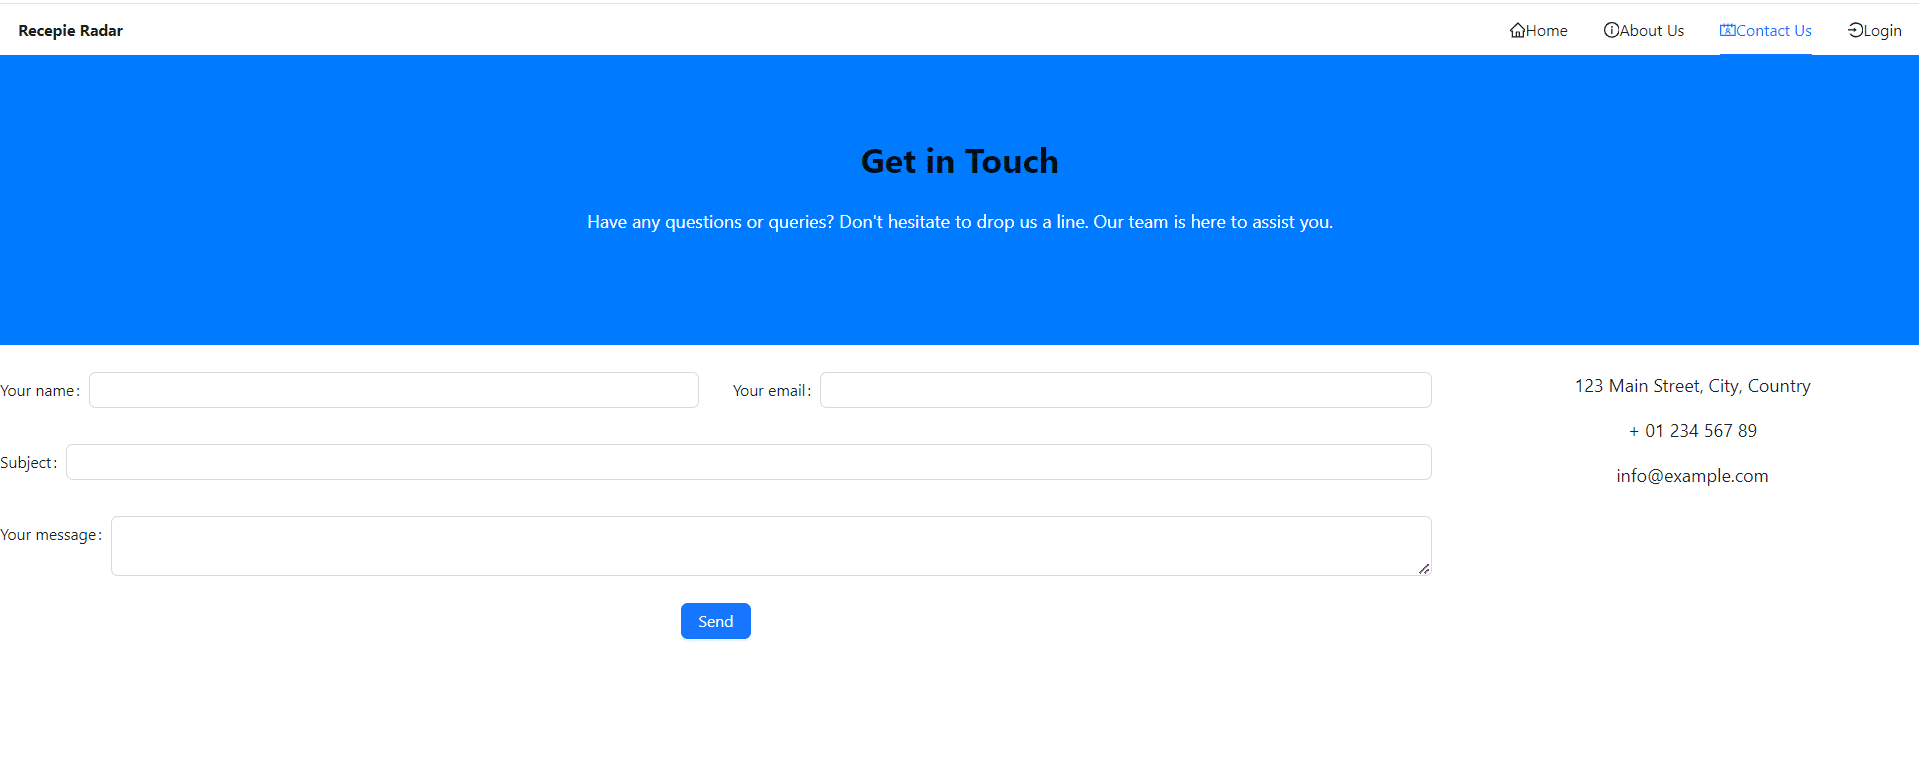
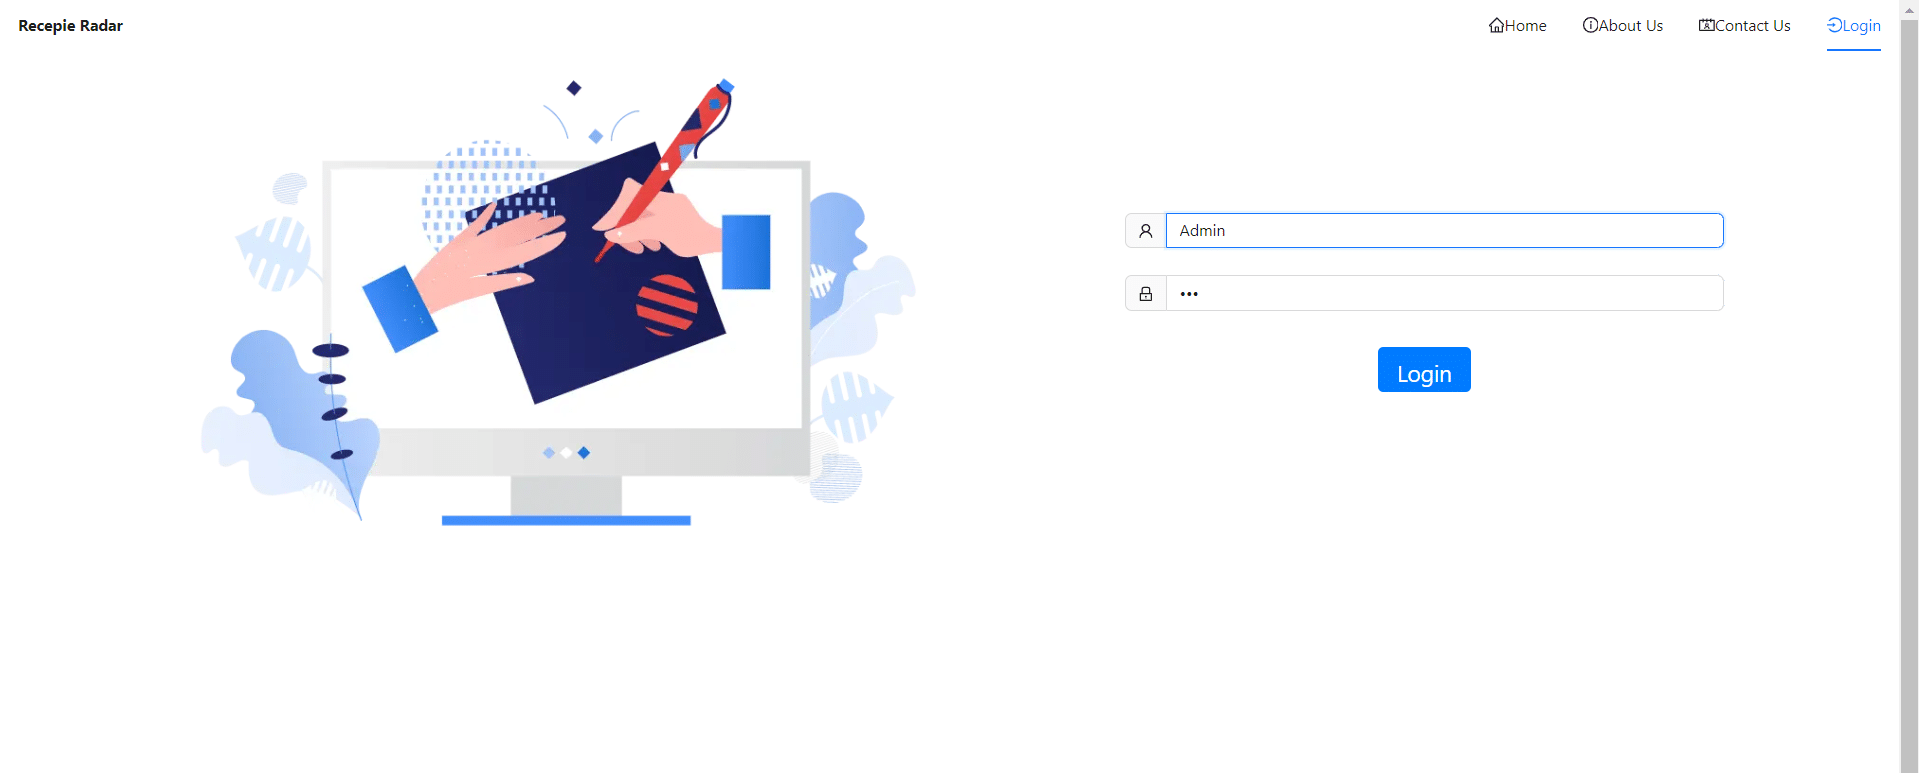
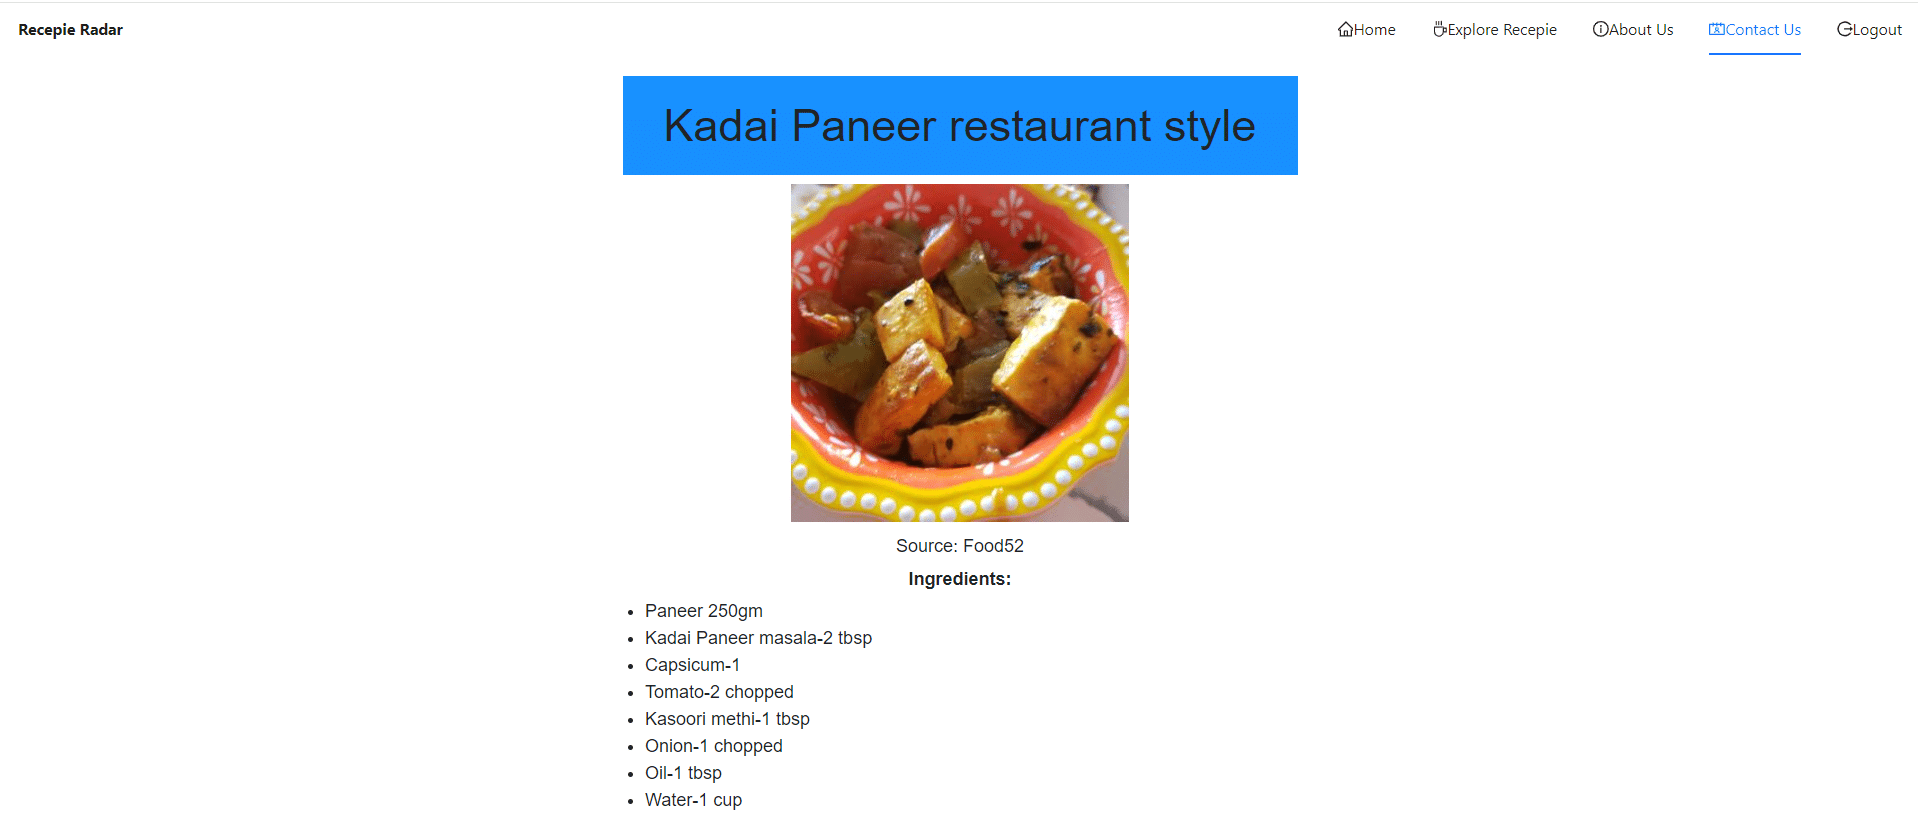
Recipe Radar is a dynamic and responsive web and mobile application designed to help users explore and search for food recipes effortlessly. This application allows authenticated users to browse a wide variety of recipes, view detailed information, and enjoy a seamless experience across different devices. Key features of Recipe Radar include advanced recipe search capabilities based on ingredients, cuisine type, and dietary restrictions, as well as detailed recipe information such as ingredients, nutritional facts, and cooking instructions. You can check out the source code on our GitHub repository and experience the live application here deployed on github.

Deploy a React App on Github Pages
Ensure Mobile Responsiveness with Bootstrap
<head> tag of your index.html file:
< link rel="stylesheet" href="https://maxcdn.bootstrapcdn.com/bootstrap/4.5.2/css/bootstrap.min.css">
< !-- Add Bootstrap JavaScript and jQuery -->
< script src="https://ajax.googleapis.com/ajax/libs/jquery/3.5.1/jquery.min.js">
< script src="https://cdnjs.cloudflare.com/ajax/libs/popper.js/1.16.0/umd/popper.min.js">
< script src="https://maxcdn.bootstrapcdn.com/bootstrap/4.5.2/js/bootstrap.min.js">Step 1: Create a GitHub Repository
The first step is to create a GitHub repository for your project.
- Log In to GitHub: Access your GitHub account at GitHub.
- Create a New Repository: Click the ‘New’ button to start a new repository.
- Name Your Repository: Enter a name like ‘Recipe-Radar’. Optionally, add a description.
- Initialize Repository: You can initialize with a README if desired. Click ‘Create repository’ to finish.
Step 2: Set Up Your GitHub Pages URL
Prepare the URL where your app will be published.
- Determine the URL: Format it as
https://yourusername.github.io/your-repo-name. For example,https://codeopstrek.github.io/Recipe-Radar-Deploy. - Keep It Handy: This URL will be used in your
package.jsonfile.
Step 3: Modify package.json
Update your package.json to configure the deployment settings.
- Open
package.json: Locate and open thepackage.jsonfile in your project. - Add Homepage Field: Insert this line:
"homepage": "https://codeopstrek.github.io/Recipe-Radar-Deploy"Step 4: Add Deployment Scripts
Configure deployment scripts to automate the process.
- Edit
package.json: Go to the scripts section and add:
"scripts": {
  "predeploy": "npm run build",
  "deploy": "gh-pages -d build"
}
Step 5: Install gh-pages Package
Install the gh-pages package to manage the deployment.
- Run Installation Command:
npm install --save gh-pages - Wait for Installation: :
This may take a few moments.
Step 6: Initialize Git and Deploy
- Initialize Git:
git init - Add and Commit Files:
git add . git commit -m "Initial commit" - Initialize Git:
git init - Add Remote Repository:
git remote add origingit push -u origin master - Deploy Your App:
npm run deploy
Congratulations! Your React App is Deployed
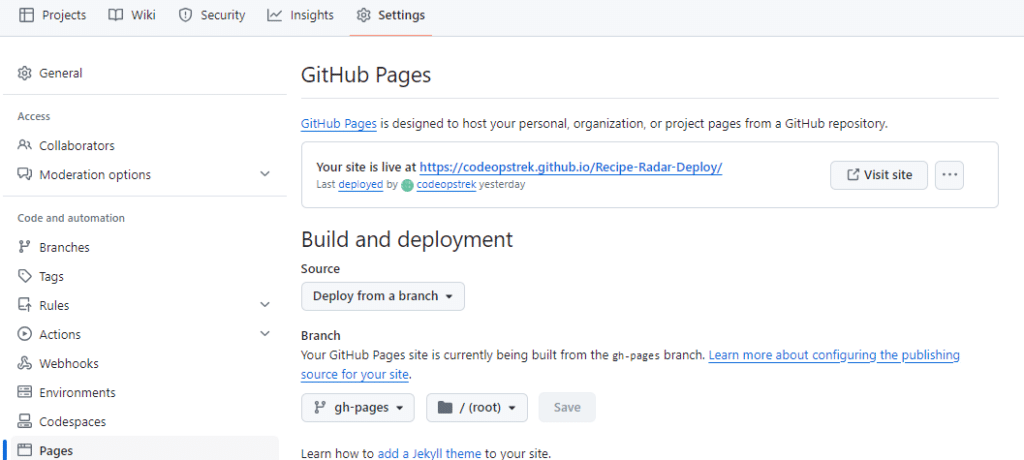
- Accessing Your Deployed App: Go to your GitHub repository. It will take a few minutes for the status to turn green, indicating that your app has been successfully published.
- Check the Deployment Status: Once published, go to the repository settings and navigate to the ‘Pages’ section. Here, you will find the link to your live project.
- Visit Your Site: Click on the link provided under the ‘Pages’ section to access your deployed React app.
Common Issues and Fixes
- CSS Not Working: Ensure CSS files are correctly linked and check for case sensitivity issues.
- Images Not Displaying: Confirm that image paths are correct, as they might change after deployment.
Conclusion
By following these six simple steps, you can easily deploy your React app on GitHub Pages. This free hosting service is ideal for showcasing your projects and making them accessible online. If you run into any issues, double-check your file paths and configurations.
For additional help, you might find these resources useful:
- GitHub Pages Documentation: Comprehensive guide on setting up and troubleshooting GitHub Pages.
- React Deployment Guide: Official React documentation for deploying your React apps.
Also, check out our internal blog, The Ultimate Guide to Prop Drilling vs. Context API vs. Redux in React, for more insights into React development.
Thank you for reading! If you found this guide helpful, please like, share, and subscribe to CodeOps Trek for more tutorials.
